Monday, January 26, 2015

The Mighty Mini...making ATCs with Marion Smith Color Labs and Romance Novel 2

Hello Creative Lovelies!

This week in my studio, I have been all about the making mini works of art called ATCs.

If you aren't familiar with them, ATC stands for "Artist Trading Cards." They are the size of a regular playing card, 2.5in X 3.5in, and can be made from various materials like watercolor paper, mixed media paper, bristol paper and anything else your imagination dreams up!

I started with a small piece of mixed media paper that was pre-cut to the ATC size. I made sure to gesso it so that my Color Lab color would be really vibrant.


To make it EXTRA sparkly, I added a little bit of my premixed "Cupcake" recipe from my sprayer into a shallow pallet section and added an extra half scoop of my pink shimmer pigment.

Next..it was all about the layers!


Here's what I added to my "Cupcake" color lab surface:

(1) Marion's "Texture" Stamp with Archival Ink pad in Jet Black

(2) Adhere a small trip of chevron paper from Romance Novel 2 "Telegram" paper

(3) Using an old hotel room key card, lightly scrap a small amount of matte gel medium over the whole thing to seal down your project so far.

(4) Take a small amount of modeling paste and mix in a little aqua Color Lab shimmer powder and a dash of Yellow pigment powder. This will give you this fun avocado color! Scrape the mixture through a small sized stencil (I used a small circular stencil.) If you have any left, add a little to the edges of your card.

(5) From Marion's ephemera cards, I cut this cute little light bulb and stamped it with a script stamp I had on hand. 

(6) I finished it up with a saying from a Cosmo Cricket sticker set and some Junque and Gems camera and gear.

I hope you have been inspired to try something new...in a small way with ATCs.

Until next time...

XOXO,
KERI


Saturday, January 24, 2015

Someone Special - Card by Yasmin Tölche

Hello!! It's Saturday and that means that it's my turn on the blog! I wanted to share a card today..  to someone special. :)


I love the fact that you the Marion Smith Design papers has cut out elements on them. Love fuzzy cutting details.


I've used elements for different collections on this. A easy breezy card to someone Special. 

Products I've used: 


Thank you for stopping by our blog today! Have a great weekend!


Monday, January 19, 2015

Splatter Fun with Marion's Color Lab!!

Hello All!

Keri here and today I want to show you a quick and fun new way to use your pigment powders from your Color Lab collection.

Today, we are going to make funky, splatter-painted flower!

All you need is:

Paper Flower
Color Lab Pigments of your Choice
Small Paint Brush
Water Bottle

Step 1

Start with your "naked" flower and your first color.


Dip the tip of your brush in your powder (it takes VERY little) and then lightly tap your brush over your flower. You will barely be able to see your dust. 

Step 2

Next...grab your water bottle.

LIGHTLY mist over your flower. Do not directly spray your flower or the colors particles will mix together. Try spraying from above your project to allow the water to kind of flutter down.


You can experiment with whether or not to add more powder and repeat the process or if you want to spray it a couple more times to allow the existing spots to "grow."

I decided I wanted to add another color!

Step 3

Before I added my second color, I completely dried my flower with a heat gun. I did this so that my color wouldn't become over saturated and my second color wouldn't mingle too much with my blue...allowing both colors to remain somewhat separate. 


I repeated steps 1 and 2 again, this time with my red Color Lab pigment powder.

This was my fun and funky results!


You can have lots of fun experimenting with color combos. You can see that even though I only used 2 colors, I ended up with light blues, dark blues, purples and my red.

Here's a close up:


Hello 1982!! LOL.

I love my funky little flower!

I can't wait to see what you do with this technique! It can easily be used for making mixed media or scrapbooking backgrounds, as well as on other products to make your own, personalized embellishments.

Until next time...

XOXO,
KERI


Wednesday, January 14, 2015

Gypsy Planner by Marion Smith Designs


Hi everyone. 

Just wanted to pop in and share this video with everyone from CHA 2015 via Noel Hyman of Paperclipping Roundtable. By now I'm sure you've seen the new Gypsy Planner but I wanted to share with you the reasons why I love it. 

As a planner person, I have my fair share of paper planners, ring bound planner, spiral, and wire bound planners. I even have a section of my craftroom dedicated to planners with stickers, stamps, tags, and the like all dedicated to my planner. 

1) One of the reasons I love the new Gypsy Planner is because a lot of the decoration is already done for me. The Gypsy Planner has pre-designed pages that are customizable and undated. This is great for those of us who tend to plan quite a bit during the week but not too much on the weekends.

2) Another reason that I love this decorated planner is because sometimes I don't have the time during my week or on weekends to actually get out my washi tape, stamps, and other embellishments. I am currently in graduate school, teaching full time, working toward my professional counseling certification, and trying to get pregnant. Busy bee I know. With all of this going on that doesn't leave much time for crafty things and when I do get a bit of free time I usually devote that to my scrapbook project, project life, and design team projects. This decorated planner still gives me the planner decor that I love but in a much easier format.

3) Print and play. That's it!!! I can do that anywhere between classes, while waiting for my students to finish an assignment, while studying, etc. In those few stolen moments I can actually work on planning rather than decorating.

I will have many more blog posts coming soon showing the planner. Hopefully you all will join me on my planner pursuits.

Happy Wednesday.

Angela

Monday, January 12, 2015

Making Watercolor Paints with Color Lab Powders

Hello Friends!

Keri here and today I am super excited to show you another amazing way you can use Marion's new Color Lab system...make your own watercolors!!

The super saturated pigment powder, mixed with a little water, makes for rich colors and a more opaque finish than normal watercolors.


Here's what I did:

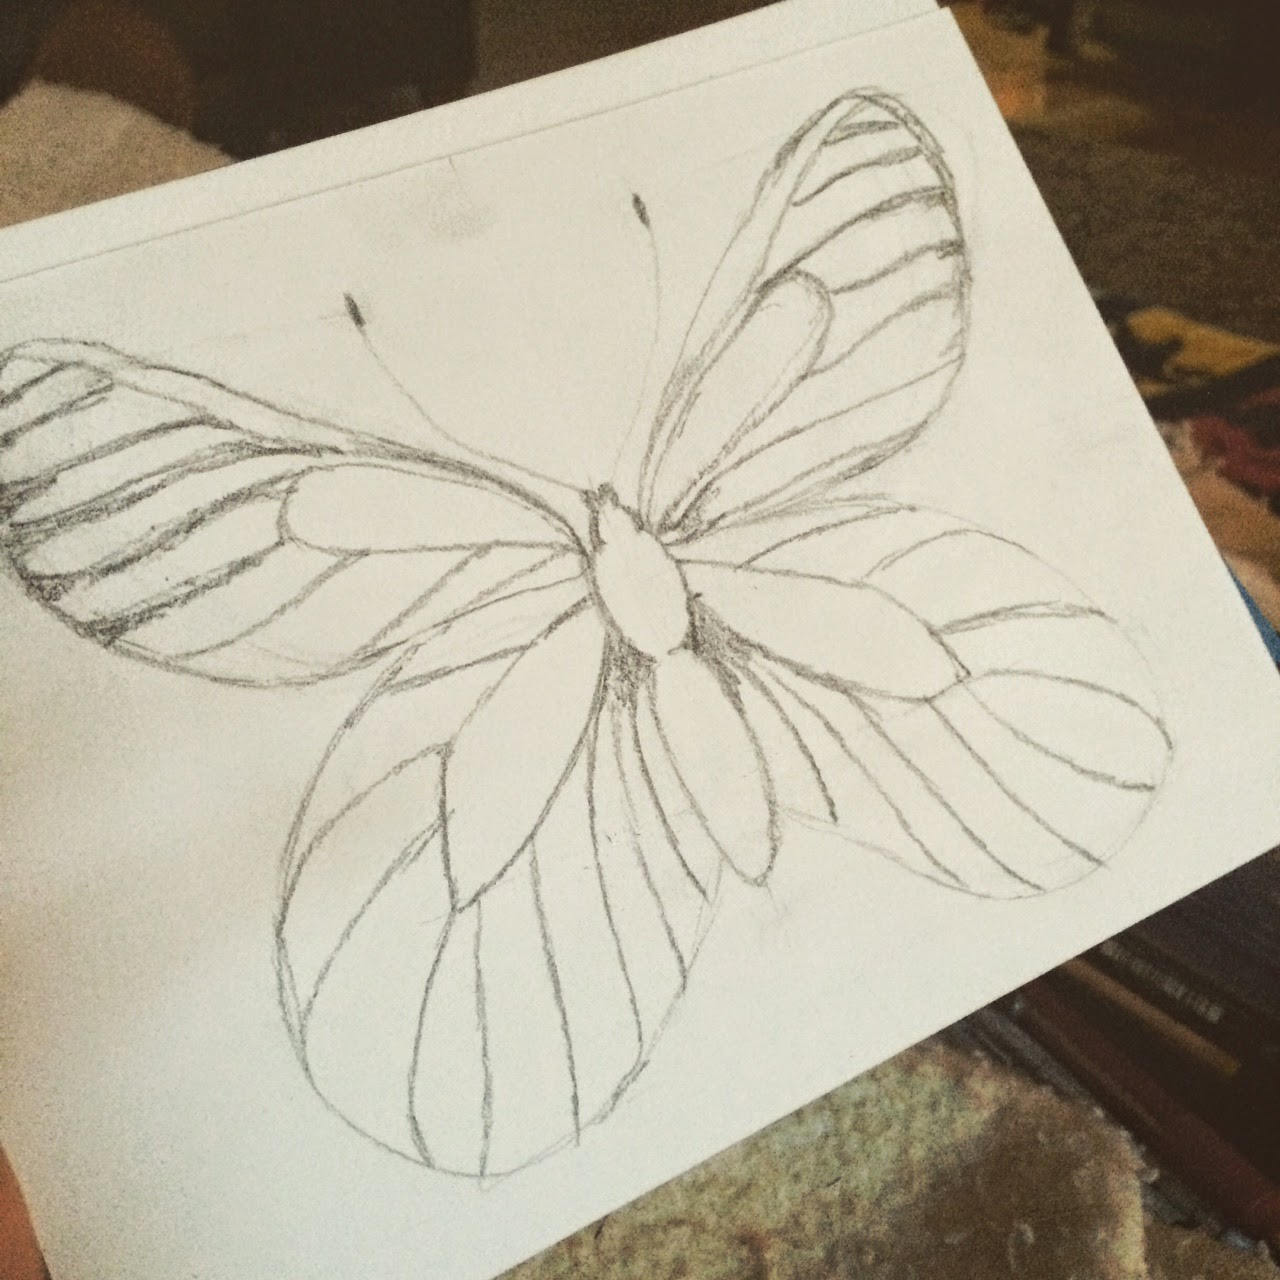
I started by sketching a butterfly on watercolor paper. (If drawing isn't your thing, you can easily print  your chosen image from your computer....just choose one with a good outline.)


I then outlined it with a black sharpie.


I tested my Color Lab to see whether I needed to add clear gesso over my drawing.
Here is my test...as you can see, my sharpie stayed true with and without gesso and my Color Lab is smoother when used over gesso. It also dries faster. :)


So I decided I wanted to gesso my butterfly. 


Next, I prepped my paint.
I added a very small amount of powder into wells of a paint pallet. Using the little scoop that comes with it, I used 1/2 a scoop if I was using a single color and just a dash if I was mixing colors.

This is a perfect time to play with new recipe ideas!!


Add 1-2 tablespoons of water, depending on the saturation you want from your colors. 


Now...let's paint!!

Here's a little tip to blend two colors:

Apply 2 colors on opposite side of the section you are painting. Using one light/one dark makes the best dimension. 


Now in between the two colors, add a little bit of water and allow the colors to naturally wick and blend. 


Continue the process all over your image, working on one section at a time and mixing up using 1 or 2 colors.


Another tip? Allow one section to dry before using your watercolors on the neighboring section. If they get too wet, they will be drawn in to the neighboring section. You can see this just a bit on the border between this green and red section.  I think it looks cool, but just be cautious if you would like a cleaner look.

Once I was done, I hit my project with my heat gun to speed up the drying process.

Lastly, I sealed my butterfly with a mixed of clear gesso, mixed with a bit of Color Lab gold powder. 


For this process, you want to dab with a large brush instead of swiping and every few dabs clean wipe you brush off a bit because the brush might pick up a little of your colors. This happened to me and I liked the "molten" look it gave my butterfly!

Here's a close up...check out that sparkle!!


I hope you enjoyed my project today and are inspired to think of new and exciting way to use YOUR Color Lab!!

XOXO,

KERI


Saturday, January 10, 2015

You - Layout by Yasmin Tölche

Hi Everyone, it's Yasmin on the blog today and yes it Saturday and my Marion Smith Designs day.. I'm now going to post everyother saturday projects filled with Marion Smith Design products starting with this saturday. This time I have a layout to share with you.


I've played with pink!! not often I do that since I only have boys to scrap for myself. I've used papers from the "Garment District" line and the "Mad Tea Party" 6x6" Paper Pad.


I used a bit of gesso on the busy background and used cut outs from the "Garment District" line including some 6x6" papers from the "Mad Tea Party" line to put together some layers behind the photo. I also used some of the junque ane gems to decorate!


These are the products I've used on this layout: 


I'm actually quite happy with this layout. Would love to hear your opinion! :) Thanks for stopping by and leave us a comment and I'll leave one back! :)

Have a creative day!

Sunday, January 4, 2015

How-to Make your own Bow Clips using a Paper clip (Video)

Happy Monday! Let's start this week off with a How-to Video. I wanted to show how I make these cute little Gold Bow Clips for my Planner so here we go enjoy the video.

Thursday, January 1, 2015

Nirvana Layout by Erica Houghton


Happy New Year! A New Year means a new beginning – new opportunities to pursue, new adventures to enjoy, new people to meet and of course, new memories to create! 

Today I'm sharing a layout I created using the Scrap Africa Sketch No. 42 and the Nirvana Collection by Marion Smith Designs.


Here are a few close-ups:


Paper
Marion Smith Designs, Nirvana


Embellishments
Marion Smith Designs, Junque & Gems – camera, arrows


Heidi Swapp – stickers
Petaloo, Prima Marketing & Recollections – flowers
Celebrate It – ribbon
Darice – bella corda

Adhesives
MyStik® Permanent Strips
Crafty Foam Tape – White

Products
Tim Holtz – distress ink

I hope that whatever you endeavor to do in 2015, that it brings you love, joy and happiness. Happy 2015!

Thanks for joining me today!

Erica